PebbleCreek, Goodyear, AZ · Accessibility Plumbing · Published May 2025 · 7 min read
Walk-In Shower Conversion in a PebbleCreek Active Adult Home: Process, Cost, and What to Expect
Walk-in shower conversions are the most requested plumbing project in PebbleCreek. Here is the full scope of what the plumbing trade handles, how the tile contractor and plumber coordinate, and the decisions that matter most before work begins.
Why walk-in conversions dominate PebbleCreek project lists
PebbleCreek’s active adult population — homeowners in their 60s, 70s, and 80s who plan to age in place — has a straightforward reason for removing the bathtub: they haven’t used it in years, it presents a step-over hazard every time they shower, and converting it to a walk-in shower with a curbless or low-threshold entry makes the space safer and more comfortable without requiring a significant lifestyle change.
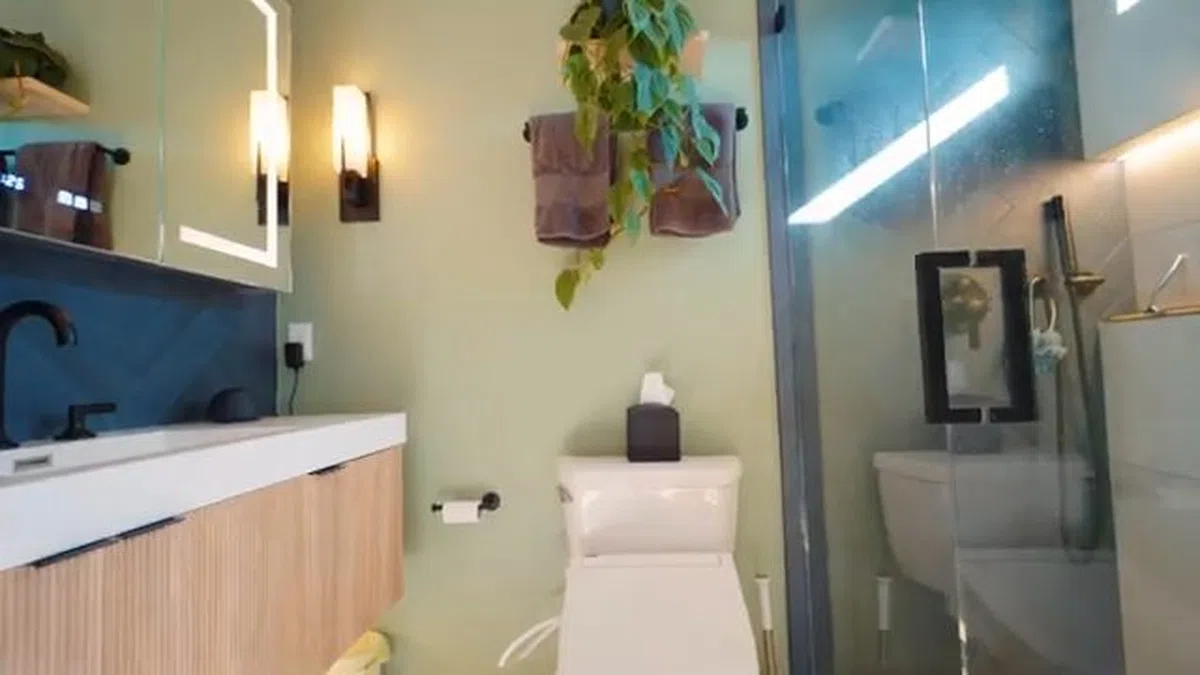
The conversion is not only about safety. The aesthetics of a well-executed walk-in shower — large-format tile, a frameless glass panel, a built-in niche for toiletries, and a quality thermostatic valve — represent a meaningful upgrade to the primary bathroom that also adds value to the home. In PebbleCreek, where home values are influenced by the quality of interior updates, a master bath conversion done well is both a comfort project and an investment.
Walk-in shower conversions are also simpler than they often seem from the homeowner’s perspective, once the tradespeople involved understand their respective scopes and the coordination between plumber and tile contractor is handled properly from the start. This article focuses on the plumbing scope specifically, since that is where the decisions with the longest-term implications are made.
What the plumber handles in a walk-in shower conversion
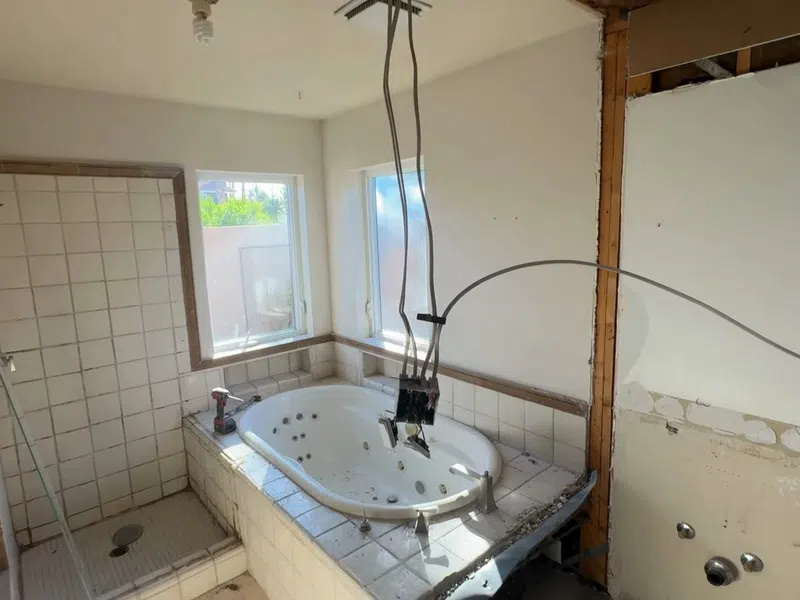
The plumbing scope in a PebbleCreek walk-in shower conversion typically includes the following: disconnecting and capping or removing the existing tub drain and tub filler connections, installing the new shower drain in the correct location for the shower pan configuration at the correct slope, rough-plumbing the new shower valve and diverter (if a hand shower or second outlet is planned), running supply connections to any additional outlets (rain head, body sprays), and connecting all rough plumbing before the tile contractor begins their work.
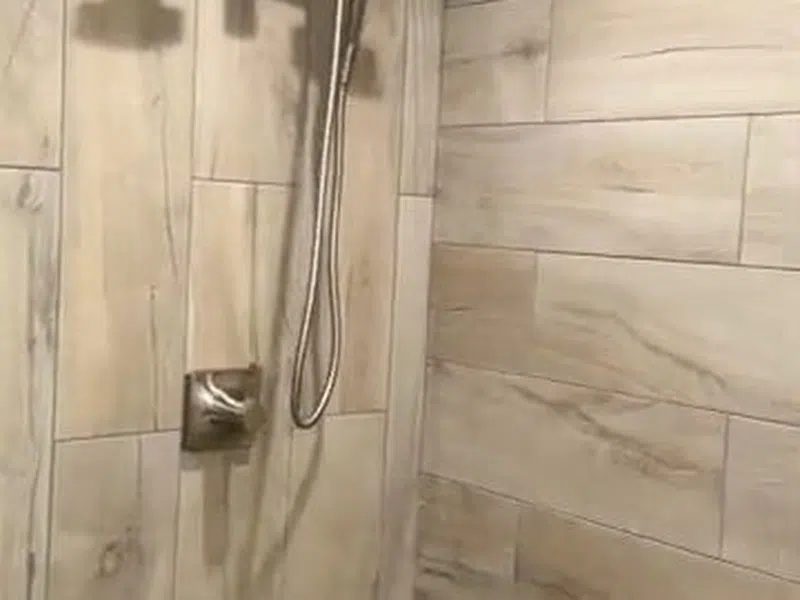
After the tile work, flooring, and glass installation are complete, the plumber returns to trim out the valve — installing the handle, plate, and showerhead — connect the drain assembly to the pan drain, and install the hand shower slide bar if one was specified. This two-visit structure (rough-in before tile, trim-out after tile) is standard and the most efficient way to sequence the project.
The drain decision: one of the most important choices
Where the drain is located and how the shower floor slopes to it determines the tile layout, the pan configuration, and the perceived quality of the finished shower. A center drain, linear drain along the entry or far wall, and multiple-drain configurations each have different slope requirements and aesthetic implications. The drain decision should be made before the tile contractor orders tile, since large-format tile (the current design preference in PebbleCreek) interacts with drain location in ways that affect how many cuts are required and how clean the finished pattern looks.
For curbless showers, the drain placement and slope configuration is more critical than in a curbed shower. A curbless shower relies on positive floor slope toward the drain to keep water from migrating outward across the threshold. The minimum slope for a curbless shower is typically 3/8 inch per foot toward the drain. Getting this right in the rough framing stage is far easier than correcting it after tile is set.
Shower valve selection: pressure-balanced vs. thermostatic
The shower valve controls both the temperature and the flow of water to the shower outlets. Arizona code requires anti-scald protection on all shower valves. Two types provide this protection at different price and performance points.
A pressure-balanced valve uses a spool mechanism that compensates for pressure fluctuations — when a toilet flushes or a washing machine fills, pressure changes that would otherwise shift the temperature ratio between hot and cold are absorbed by the valve. Pressure-balanced valves are the standard for single-function showers and are the appropriate choice for most conversions where budget is a consideration.
A thermostatic valve actively maintains a set water temperature regardless of supply pressure or temperature variations. The homeowner sets a desired temperature, and the valve adjusts continuously to hold it. In PebbleCreek master bath conversions with multiple outlets — main showerhead, rain head, and hand shower — a thermostatic valve system with separate volume controls for each outlet is the current standard. The initial cost is higher than a pressure-balanced setup, but the comfort and control improvement is significant in a shower with more than one active water source.
Grab bar blocking: install it now even if you don’t want bars yet
Grab bars require solid blocking behind the tile to support weight safely. A grab bar mounted only to tile and drywall is a safety hazard rather than a safety feature; it will pull out when loaded. Proper blocking means solid wood or metal blocking installed between the wall studs behind the shower surround, at the heights and locations where bars are most likely to be needed: alongside the entry, at the seat level for transfers, and along the back wall.
Installing this blocking during the shower conversion, before the tile goes up, costs very little additional time or material. Installing it afterward requires opening the finished tile wall. If PebbleCreek homeowners do not want grab bars at the time of conversion — perhaps because the aesthetic interrupts the clean tile look they are going for — we routinely install the blocking and omit the bars. Bars can then be added at any future time by a handyman with a drill, without any plumbing or tile work.
We recommend grab bar blocking as a standard inclusion in every PebbleCreek walk-in shower conversion, regardless of whether bars are being installed immediately.
Hard water and shower design choices in Goodyear
PebbleCreek and West Valley homeowners choosing materials for a walk-in shower conversion should factor in Goodyear’s 250 to 400 ppm hard water. Polished tile and frameless glass surfaces show hard water mineral spotting more readily than honed or matte surfaces. Large-format polished porcelain looks striking when clean but requires consistent maintenance to prevent mineral buildup from becoming visible. Honed or textured tile in the same format shows hard water deposits less readily and is easier to maintain without chemical cleaners.
Frameless glass shower panels are a current design preference in PebbleCreek conversions. They look better with a water softener upstream, since soft water does not deposit the calcium and magnesium film that makes glass look frosted within weeks of installation in unsoftened water. We often recommend that PebbleCreek homeowners planning a shower conversion who do not yet have a water softener consider installing the softener either before or at the same time as the conversion, since the aesthetic value of the glass panel is significantly greater in softened water. See our water softener installation page.
Frequently asked questions
How long does a walk-in shower conversion take in PebbleCreek?
The plumbing rough-in typically takes one day. Tile work, depending on the shower size and tile complexity, takes two to four days. The plumbing trim-out takes a few hours after tile and glass are complete. Total calendar time from start to a usable shower is typically one to two weeks, depending on scheduling coordination between the plumber, tile contractor, and glass installer. We can recommend experienced tile contractors familiar with PebbleCreek conversion projects.
What is grab bar blocking and why should I install it even if I don't want bars now?
Grab bar blocking is solid wood or metal placed between wall studs behind the shower surround at the heights where grab bars are typically installed. It costs almost nothing to add during the conversion and allows bars to be added later by anyone with a drill — no tile removal, no plumbing, no wall opening. Without blocking, a bar mounted to tile alone will pull out under load. Adding blocking later requires opening the finished tile wall, which is expensive and disruptive. We include it as a standard part of every PebbleCreek walk-in conversion.
Do I need a City of Goodyear permit for a shower conversion in PebbleCreek?
Permit requirements depend on the scope of work. A straight conversion that stays within the existing plumbing rough-in footprint and does not require rerouting supply lines may not require a permit in all cases. Work that involves rerouting supply, adding a new electrical circuit for a bidet or heated floor, or significant structural changes does require a City of Goodyear plumbing permit. We assess the specific project scope during the estimate visit and advise on permit requirements before any work begins.
Schedule your PebbleCreek shower conversion
Plumbing rough-in and trim-out for walk-in shower conversions in PebbleCreek and across the West Valley. Free estimates.
(623) 323-3182 — Call Now